Leaving the house with just your phone — no wallet, no cards — feels strange the first time and completely normal by the second. A mobile wallet stores your cards, passes and tickets on your phone and lets you pay with a tap, and setting it up takes about two minutes. It’s also more secure than the plastic cards it replaces. This guide walks through getting started on both iPhone and Android.
- Open Apple Wallet (iPhone) or Google Wallet (Android).
- Add a card by snapping a photo or typing the number.
- Confirm it with a quick code from your bank.
- Pay by holding your phone near the reader and approving.
Why use a mobile wallet
It’s faster, tidier and safer than carrying cards.
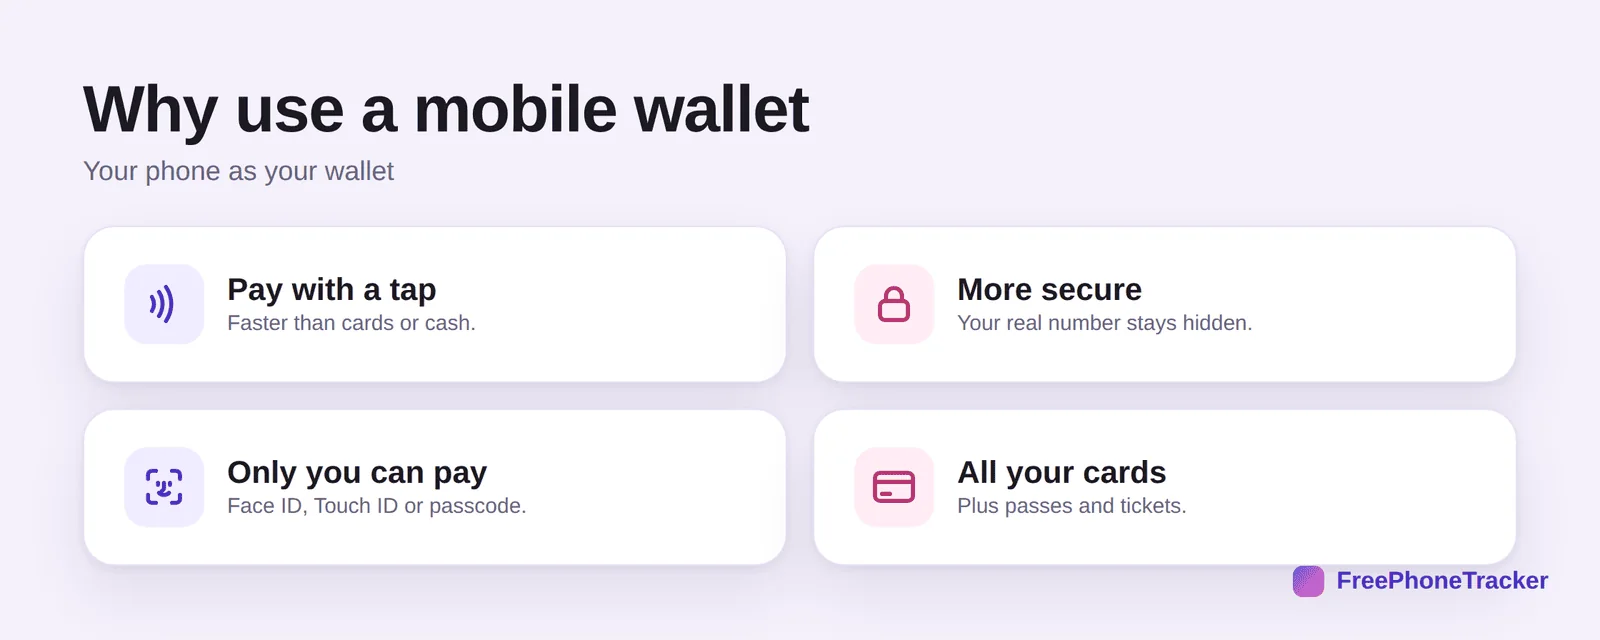
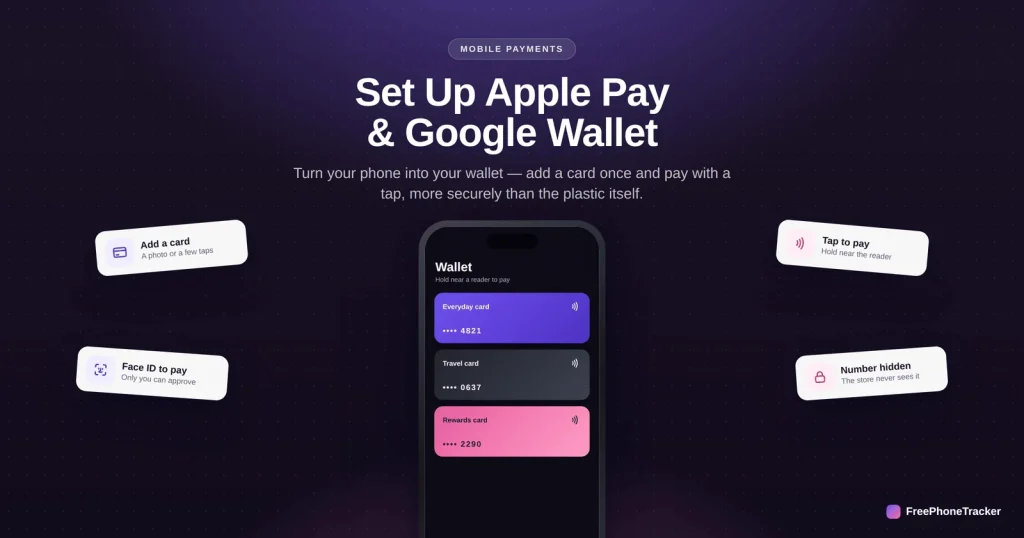
Pay with a tap — faster than cards or cash. It’s more secure, because your real card number stays hidden. Only you can pay — every payment needs Face ID, Touch ID or your passcode. And it holds all your cards, plus passes and tickets, in one place.
Set up your wallet
The whole process takes a couple of minutes.
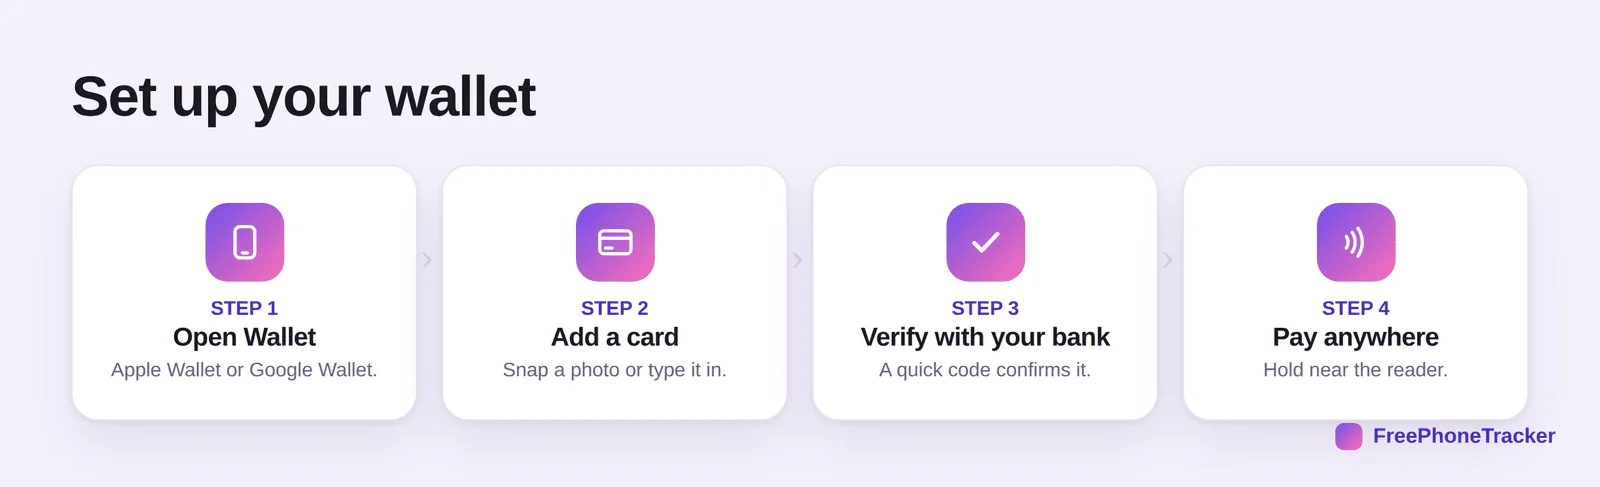
Open Wallet — Apple Wallet on iPhone, Google Wallet on Android. Add a card by snapping a photo of it or typing the number. Verify with your bank — a quick code by text or app confirms it’s yours. Then pay anywhere that takes contactless by holding your phone near the reader.
Get the most from it
A few settings make it even more useful.
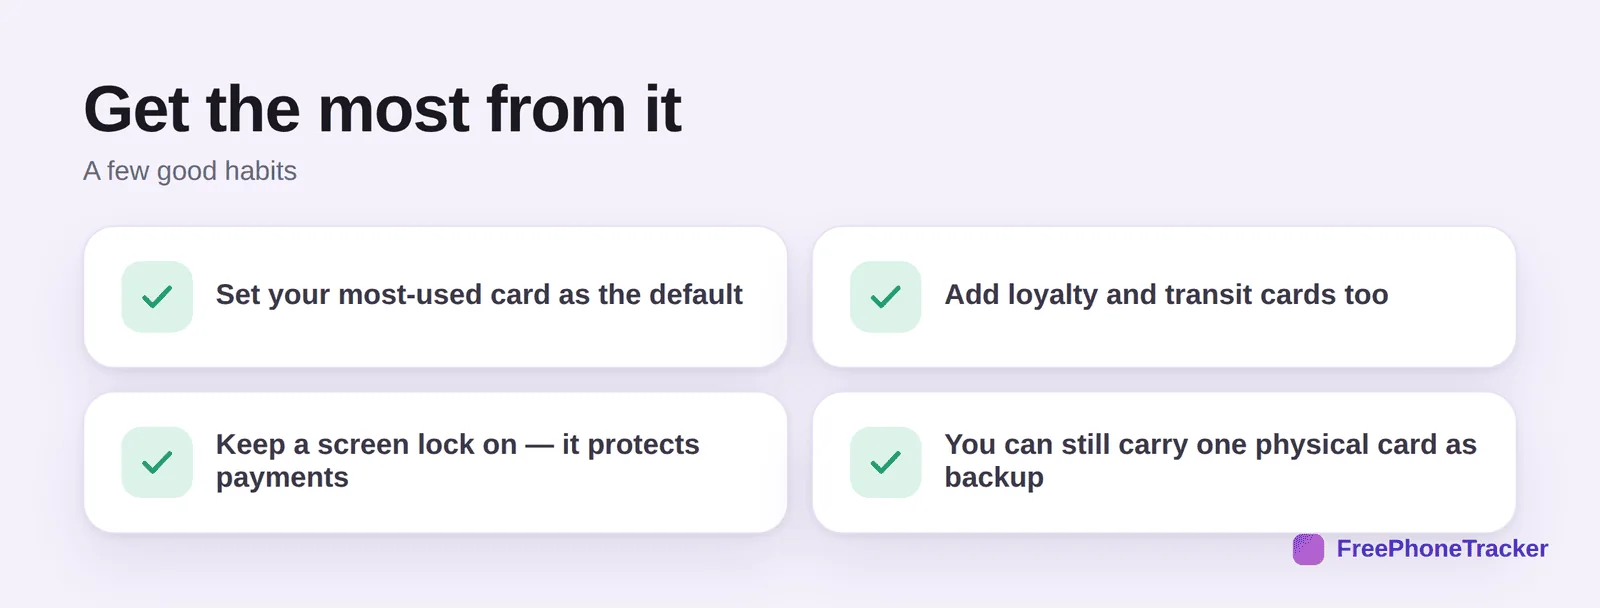
Set your most-used card as the default so it’s ready instantly. Add loyalty and transit cards too, so they’re all in one place. Keep a screen lock on — it’s what protects your payments. And it’s fine to carry one physical card as backup for the rare place that doesn’t take contactless.
Common questions
How do I add a card to Apple Pay or Google Wallet?
Open the Wallet app, tap the “+” or “Add,” and either position your card in the camera frame to capture the number or type it in manually. Your bank then confirms it’s really you — usually with a code sent by text or through your banking app. Once verified, the card is ready to use.
Is a mobile wallet safe?
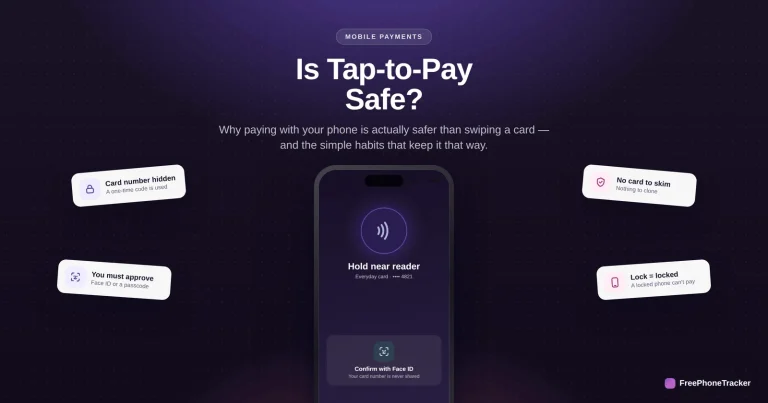
Yes — arguably safer than a physical card. Your actual card number is never stored on the phone or shared with the store; a unique device code stands in for it, and every payment needs your Face ID, Touch ID or passcode. See our guide to why tap-to-pay is safe for the details.
Where can I use it?
Anywhere that accepts contactless payments — look for the tap symbol at the register, which is now the vast majority of shops, cafés, transit systems and vending machines. You can also use it to pay in many apps and websites without typing your card details each time.
What if my phone battery dies?
A dead phone can’t pay, so it’s wise to carry one backup card for emergencies. Some iPhones keep a low-power reserve that allows transit and card payments for a few hours after the phone appears off, but don’t rely on it — a single physical card in your pocket is simpler insurance.
Can I add more than one card?
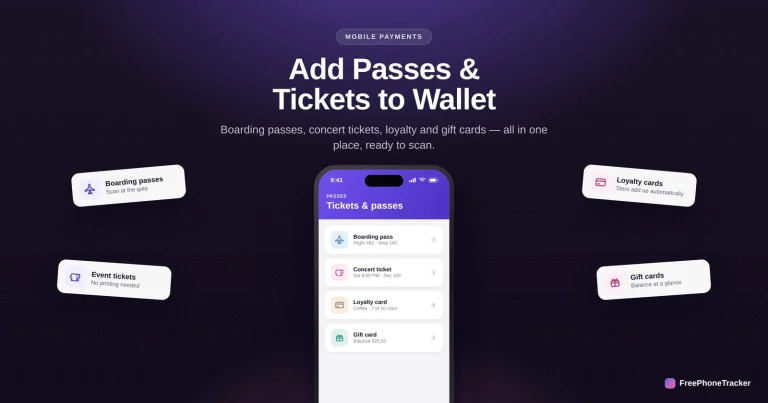
Yes — add as many as you like and switch between them at payment time, with one set as the default. You can also store loyalty cards, transit passes, boarding passes and tickets, which is where a mobile wallet really earns its place. See adding passes and tickets.
A mobile wallet turns your phone into a faster, safer wallet in about two minutes: add a card, verify it, and tap to pay. Add your passes and loyalty cards too, keep a screen lock on, and you may find you rarely reach for the plastic again. Get started free, and read our guides to tap-to-pay safety and adding passes and tickets.